Showing posts with label Crafts. Show all posts

Friday, December 16, 2011

Pinterest Love!

Source

Are you addicted to Pinterest? Don't know what Pinterest is? Read here. If you want an invite, let me know!

I've tried many crafts and recipes that I've found via Pinterest and had great successes! I have several friends who have had failures as well. Mostly, mine have turned out great!

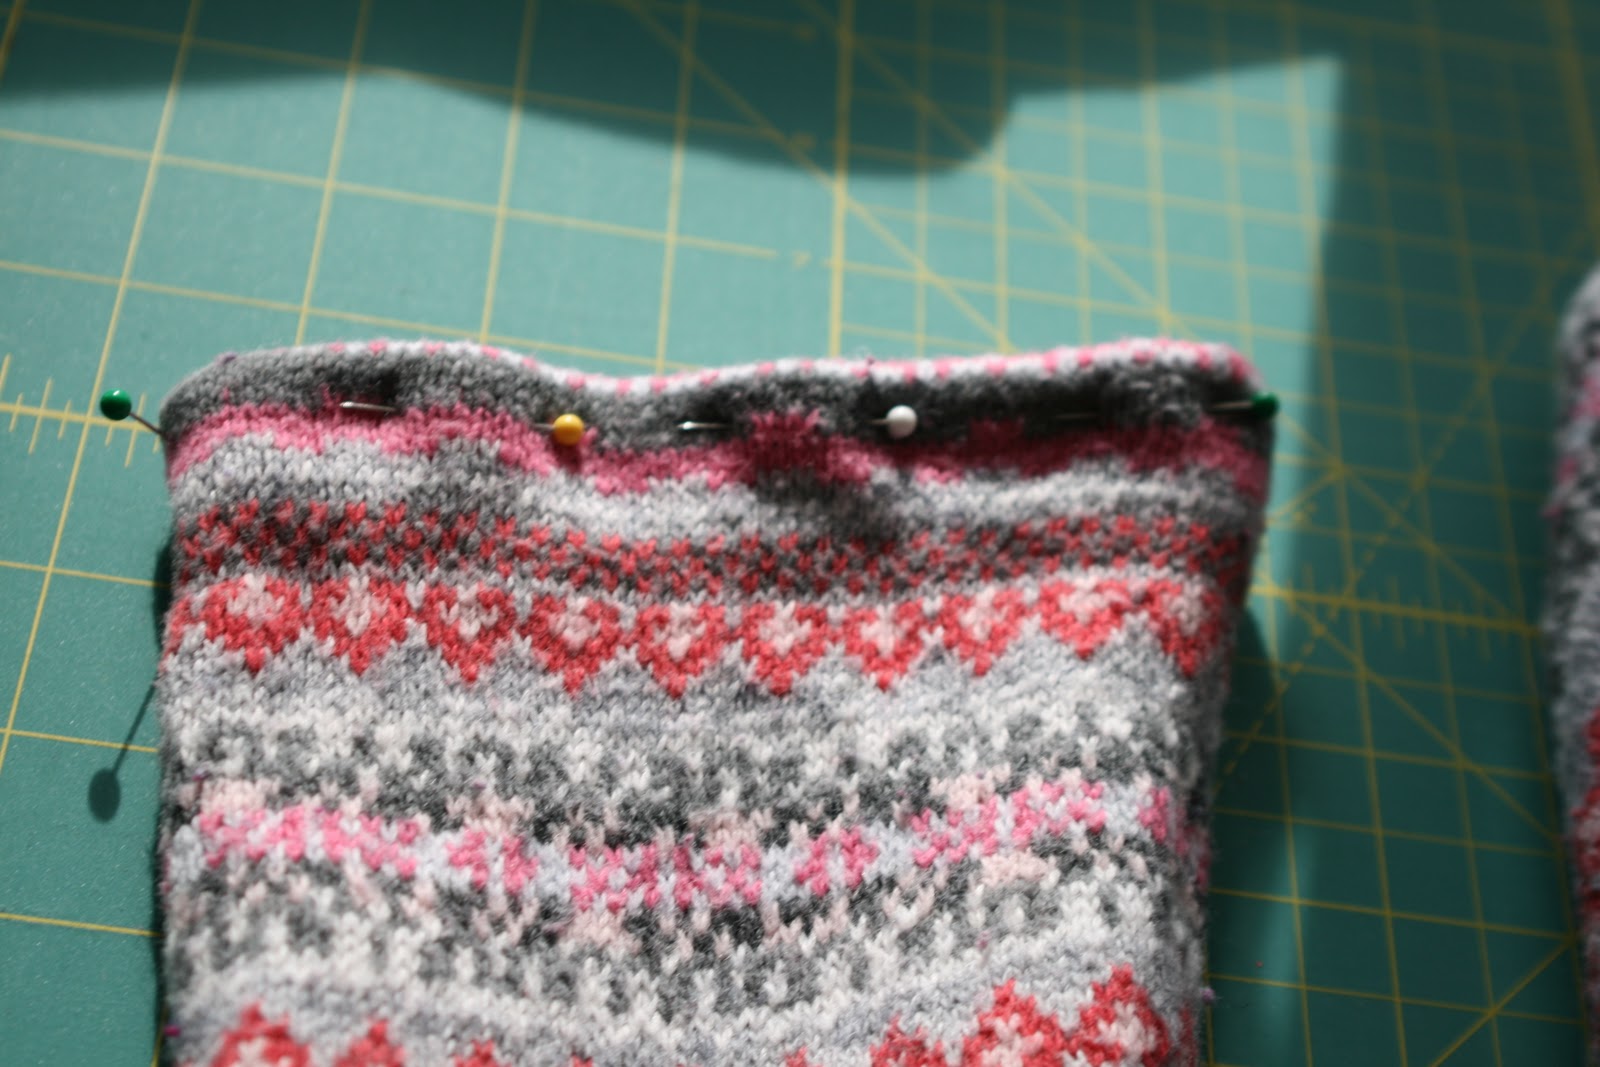
After a trip to the thrift store last week, I turned this sweater into these leg warmers aka boot socks! All for a $1 sweater.


I cut the arms off using the stripes as a guide. I hemmed them quickly to create the legwarmers which double as faux boot socks!


I also made this tie turned necklace using one of my dad's old ties. Thrift stores normally carry ties for only $1 so this can be a cheap craft. I used unfinished wooden balls from the craft store - when they were on sale 30% off so that helped too.


I have a board of recipes that I've tried and love! This week I made this potato soup and it was soooo awesome! We added in crumbled bacon (I think ham would be great too) and then added shredded cheese to our bowls of soup. So yummy and EASY!

Monday, October 3, 2011

Autumn Clusters!

Since returning home from vacation, I've dove into fall decorating and creating! I made a few autumn rosette clusters today for Sarah Found Sarah Made. I thought they turned out cute - they are even cuter on! Perfect to clip on a cardigan, scarf or purse!


I attempted a new autumn wreath too - so far, I'm loving it! The fabric bunting is just pinned on so I can change it out if I'd like. The rosettes are a cluster pin that I stuck on too. It's hanging from a strip of orange fabric that I tacked to the very top of the door for a custom & seamless look! I do love that I can change the wreath up for each holiday/season. I am contemplating adding a big fabric bow to the top... still undecided.


I hung last year's wreath on our entry mirror and added the J this year.


I've finished my mantle and just need to finish up the decor in the dining room. Next up, planting pansies, mums & kales! Pin It

Saturday, August 28, 2010

Anthro Inspired Necklace

I found this beauty of a necklace on Anthro’s website and thought it would be fairly simple to imitate for a lower price tag! I also spotted some similar ones at J.Crew a few weeks back!

anthro necklace

I sewed a long tube of fabric and then turned it right side…. that was the hardest part! Getting it turned the right side. Beads were slid into the tube and knots tied between the beads. I finished off the ties by tucking the fabric in and sewing them closed. I added one flower that I hand stitched on.

  Daily Stuff 030 Daily Stuff 032

It’s definitely not identical to the Anthro one but I think it turned out cute!

Daily Stuff 035 Daily Stuff 036

I totally forgot to take a pic of it on… it’s cuter on! But, I gave it to my sister for her birthday so hopefully, she will get a picture wearing it.

Wednesday, July 21, 2010

Bringing Back Splatter Paint!

We did a little twist on splatter-painting t-shirts this year. I’ve done this before here. You can see the step-by-step there. I forgot one step… I usually paint in the stencil first before doing the splatter painting over it. Oops. They still turned out cute, I think…

The paint

IMG_8404

The helper… despite having strep, he willingly helped sling paint!

IMG_8406 IMG_8407

I did a monogrammed onesie for one of my friend’s newborn sweetie.

IMG_8408 

Here’s my oops shirt. Taryn’s shirt didn’t turn out so cute… looks like a bird pooed in the middle so it got a little makeover – a star sewn over the top of the paint.

IMG_8421

I couldn’t find a great picture of Cayson’s firecracker shirt so here’s the best… and you can see Miss T’s made-over shirt.

IMG_8426

The onesie turned out the cutest – totally my favorite of all!

IMG_8414 IMG_8415

Yeah, we’re bringing 80’s back Splatter-Paint Style!

Wednesday, July 7, 2010

Girly Ruffled Checkbook Cover

I’ve been so antsy to try making a gorgeous ruffled checkbook cover after seeing the awesome tutorial on The Sweet Life.

It was really pretty easy for this beginner sewer… it took longer trying to figure out everything on my new sewing machine than the actual sewing. I think the next one I make will go much quicker and hopefully, be a little closer to perfect. This one has it’s flaws, but I love it anyway!!!

  IMG_8552

The inside

IMG_8553

I had this cardboard piece from my old Vera Bradley cover so I stuck it in the front to add a little sturdiness.

IMG_8554

I don’t know if Dusty will be asking to borrow the checkbook anytime soon…

Friday, July 2, 2010

Flip Flop Love

Old-Navy-187x300 Have you heard about Old Navy’s flip-flop deal tomorrow? It’s a pretty sweet deal - $1 flip-flops with the coupon from here.

I decided to embellish an extra pair of flip-flops I had thanks to Amanda’s inspiration!

 IMG_8396

I made my rosettes and cut out two smaller circles of felt.

IMG_8398

I used a Liquid Nail craft glue to sandwich the flip flop straps between the felt and rosette.

IMG_8400

Something unique from something so ordinary!

IMG_8401 IMG_8402

Tuesday, June 29, 2010

Homemade Daddy gift

I ran across this idea when I was searching online for a Father’s Day craft for my 3’s Sunday School class. I thought it was the perfect gift for the handy men in our life! When buying a hammer, I did make sure to get one they could actually use… the ones our W@l-m@rt had were light duty – not something to do actual work. We found our hammers at our local hardware store for $9 each.

I gave each hammer a coat of white paint. I taped off the head and wrapped a baggie around it. I used a strip of tape to tape off a spot for the name label area… definitely not necessary.

IMG_8242

Cayson had a blast painting! He was pretty mad that he didn’t get to keep one though. He kept telling me that his hammers were “old.”

IMG_8246 IMG_8248

Dry time

IMG_8253

I used a Sharpie to label them and then sprayed a couple coats of poly on them.

IMG_8260 IMG_8261 IMG_8262

They were a huge hit with the granddads.

IMG_8298IMG_8315

We gave one to Dusty too but I didn’t get a picture of that… we spent Father’s Day nursing a sick boy so it was very low-key.


Monday, December 1, 2008

Thanksgiving Placecards


These are the place cards that I made for our simple little Thanksgiving dinner. They were easy to make and I thought they were adorable. I found the original idea here and then here.

I used my scrapbook circle punch and punched three circles for each card. I printed the names out on postcard paper, glued on one circle as the base and folded the other two to create the 3D effect and glued them on. I added a stem of card stock and there you have it! So easy!
I had to share this before I forgot... now on to Christmas! We got our tree up and decorated tonight! Pics to come...

Thursday, July 3, 2008

A Patriotic Craft

Seriously, I am so proud of my little project!!! I found this really neat t-shirt idea in Family Fun magazine. You can view the instructions here.

I wanted to try it out so I bought Cayson a white onesie and me a white tank top. I purchased the craft paint and the freezer paper at Walmart. The freezer paper came in a huge roll so it'll last me forever. This would be a fun shirt to do for just about any holiday or celebration. I found my star templates online using google. I pre-washed both shirts and ironed them before ironing on my stencil.

Here are my photos of the craft....

The "stencil" ironed on
Painted shirt/stencil

The splatter painting fun!!!The completed project!!! I think they turned out so great. The only problem is I already have a 4th of July outfit for Cayson - so he may have several outfit changes tomorrow. :) I just love patriotic stuff!!!